Wood Flooring Feature Wall


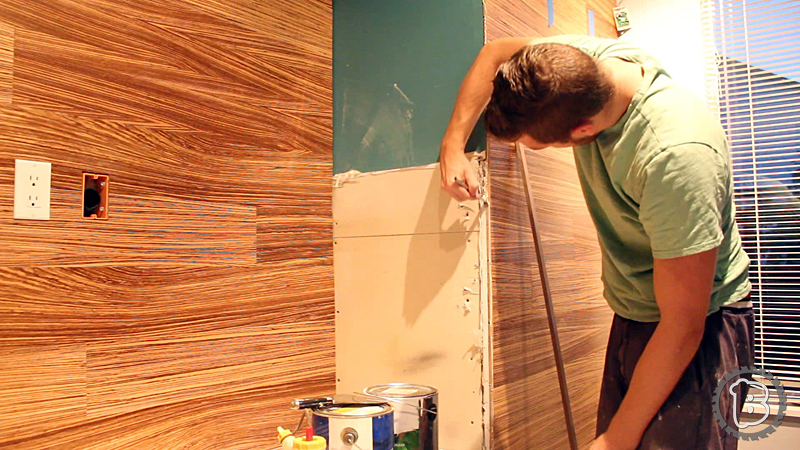
Flooring products can make excellent wall coverings. This post will outline how to install engineered hardwood flooring to create a feature wall in a media room. This technique could be applied to both hardwood and laminate flooring types. This particular hardwood is Zebrawood engineered hardwood flooring. This means it has a thin veneer of Zebrawood mounted on an MDF substrate and a little layer of cork on the bottom.
I wanted the flooring to flow up the wall uninterrupted by a baseboard so I glued down a small 1/4″ bevel molding for the transition. I also had the added complexity of installing flooring on the walls inside a 2′ x 5′ nook. I found the easiest way to accomplish the outside corner was to whip up a small square Walnut molding and butt the floor up against it. Of course make the trim yourself would require some extra “toolage” like a table saw and planer. Please follow along for step-by-step instructions.
Instructions
To Install the flooring on the wall I recommend the following tools/supplies
- Miter saw
- 18 gauge brad nailer
- Hammer
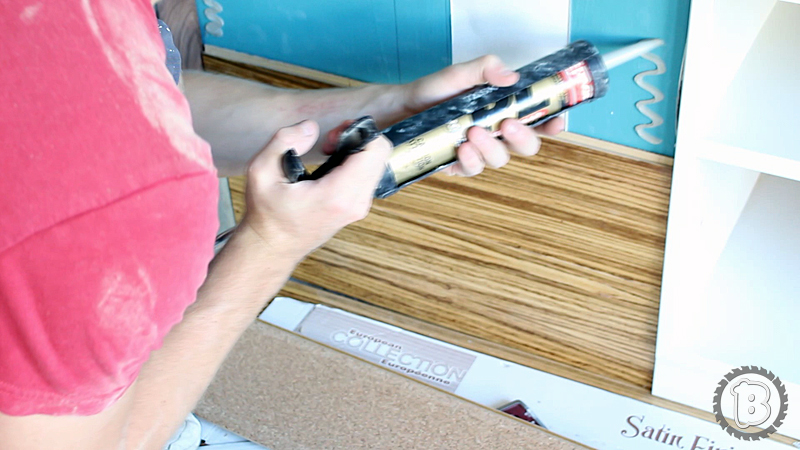
- Construction adhesive
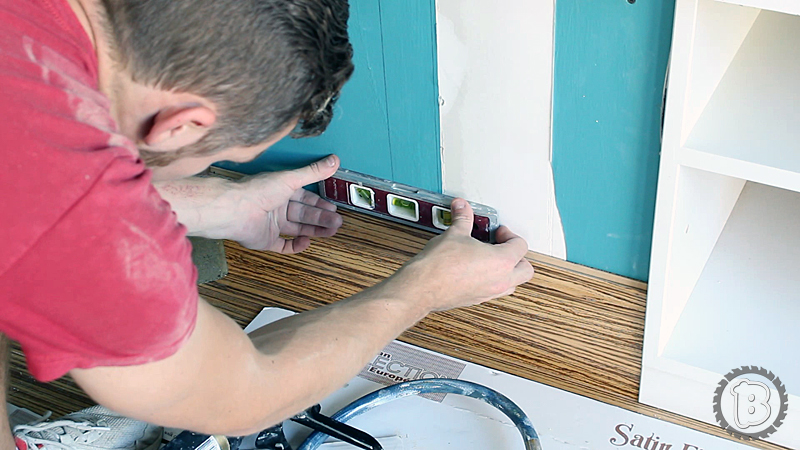
- Level
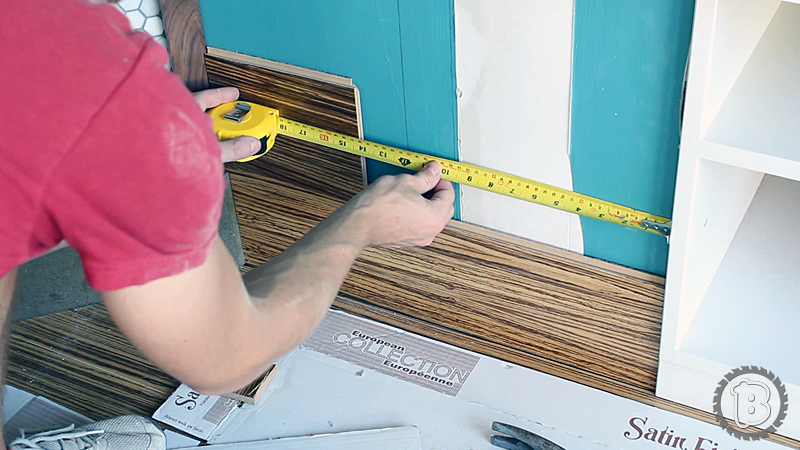
- Measuring tape
- Scrap flooring pieces to tap flooring into position
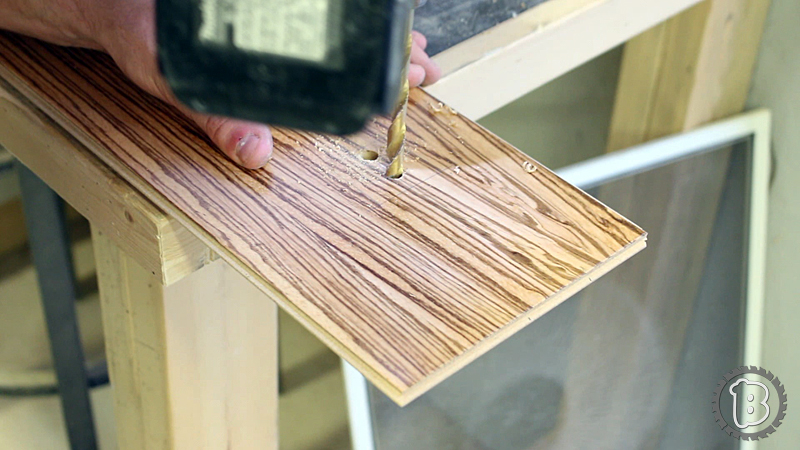
- Start the project off by locating all the studs with a stud finder and extending the marks from the floor to the ceiling. This will give you a nice reference when fastening the flooring later.
- Use a standard miter saw to do all your crosscutting. Make sure the blade is decent but the edges can be caulked with brown caulking if you didn’t get things perfect.
- The board resting on the floor should have it’s “tongue” removed by a quick run through the table saw.


4. Make sure the first board is install level. VERY important as all the rest of the boards will reference this first board.
5. Start staggering your board early as if you were installing flooring. I start with a scrap and measure and cut the remaining board to complete the run.
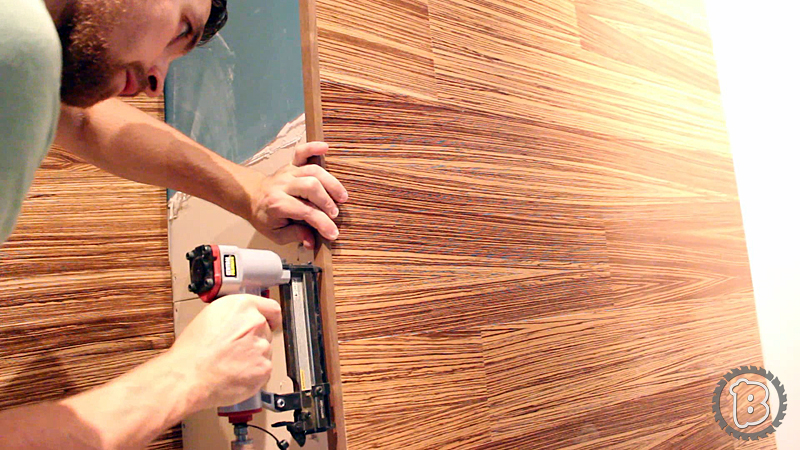
6. I also apply small amounts of construction adhesive on the back of every board before using a brad nailer on an angle to fasten the board to a stud (which me marked previously)
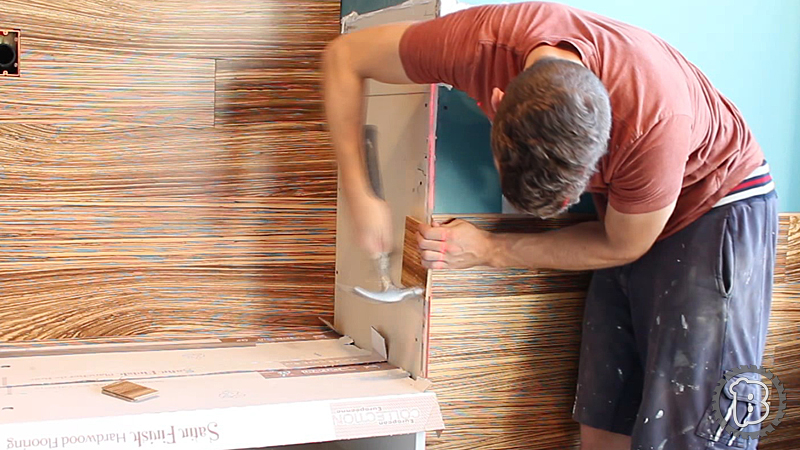
7. For the outside corner, make sure to tap the boards as you go to create a flush and plumb face for fastening the trim later.
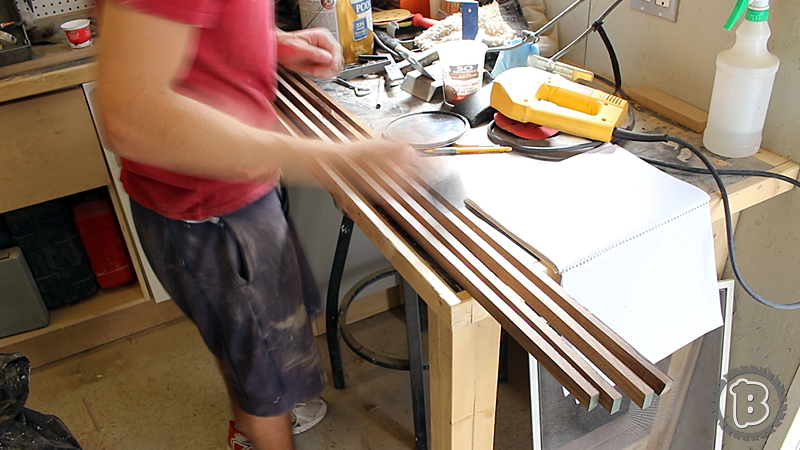
8. Make the trim I used a joiner jig on my table saw to true up one edge
9. Rattle off four even thickness strips in the table saw
10. Plane the strip down to there final 1/2″ x 3/4” dimensions
11. finish the strips off with two quick coats of water based polyurethane and allow to dry


12. Run a thin bead of wood glue along the face which we will fasten the trim strips to
13. use a 23 gauge pin nailer to fasten the strips down. no filling necessary here.

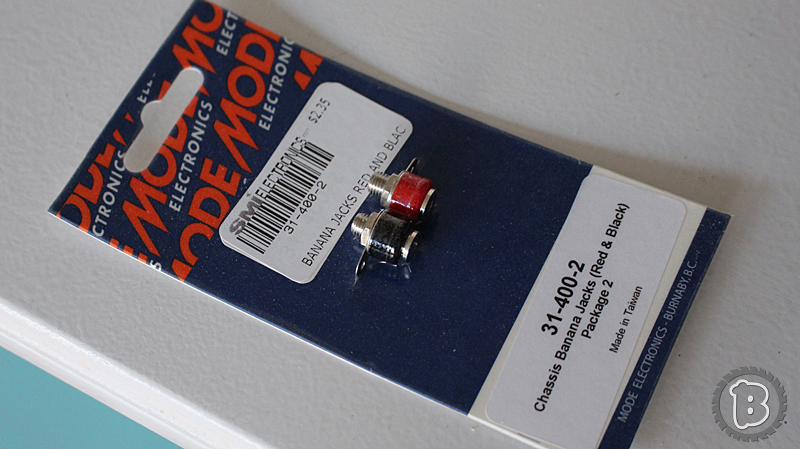
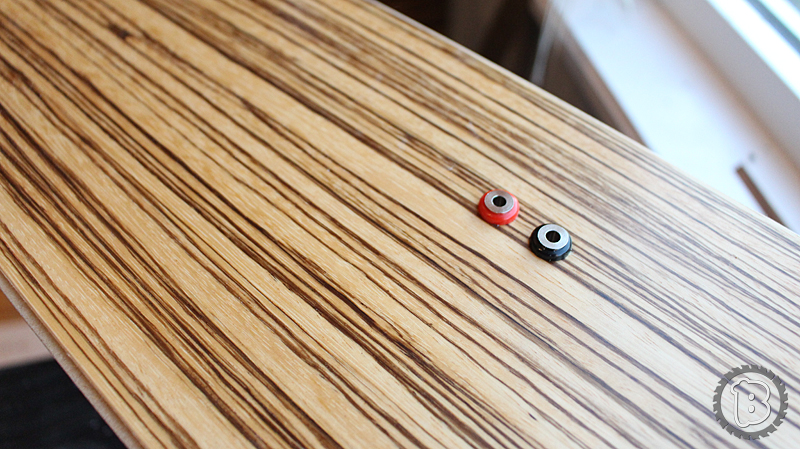
15. I ran speaker wires through the wall and used flush mount speaker terminals to make a nice transition should the speakers be removed at a later time. I also soldered the speaker connections in-place which may be a big undertaking for some. You really want a solid connection as the connection as it will not be easily accessible after the flooring is installed.
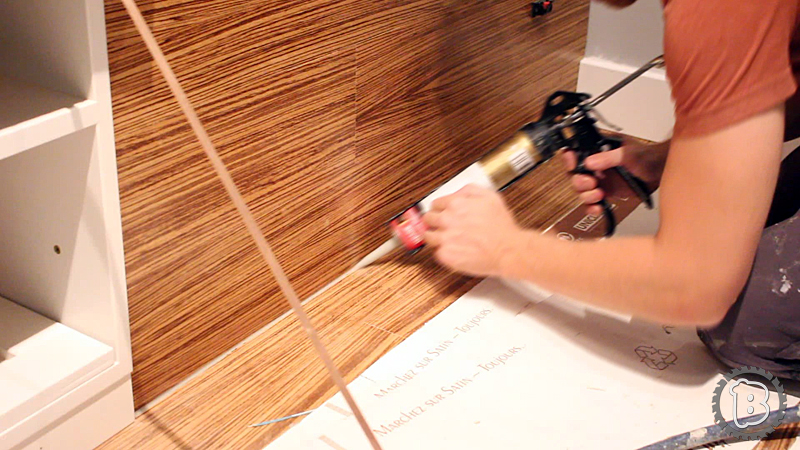
17. Install the transition bevel trim by first applying a thin bead of construction adhesive in the seam between the floor and the wall.
18. Press the molding into place. You can use a pin nailer again here but the adhesive will be sufficient.
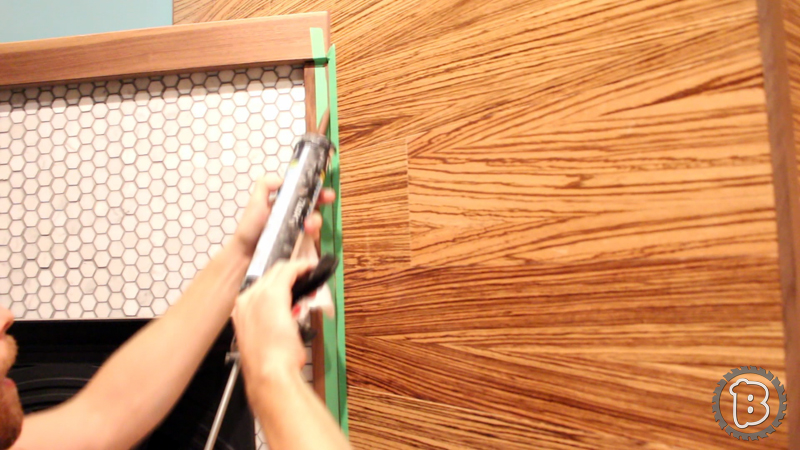
19. Tape off and apply matching latex caulking to any gaps where the flooring meets drywall for example.
Your done! Thanks for stopping by!


Leave A Comment